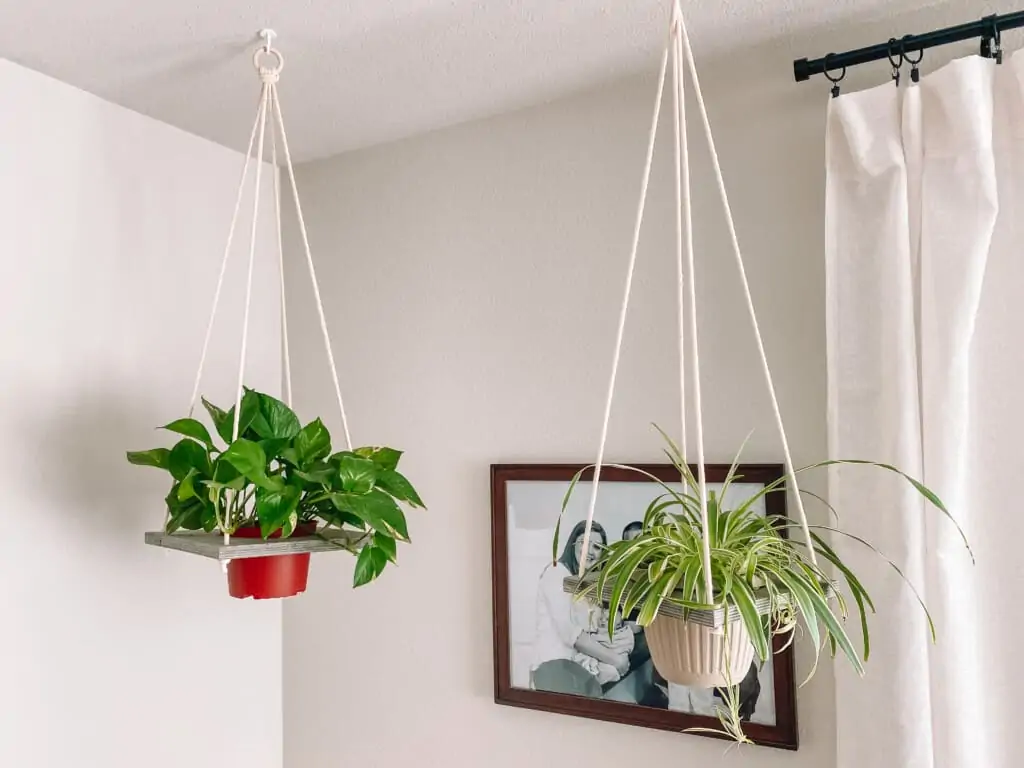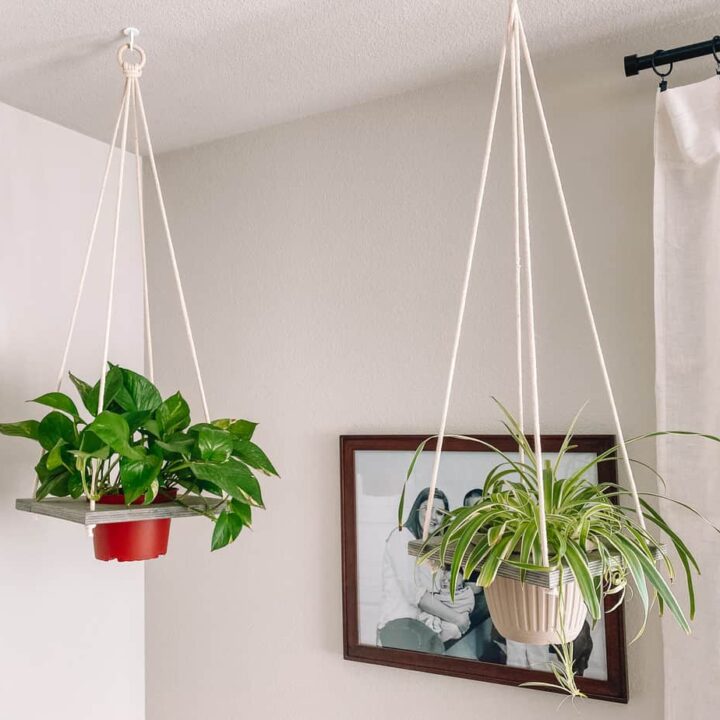
If you follow us on Instagram, you know Brittany and I have turned into plant ladies, so it’s probably no surprise to see a DIY plant hanger around here. These new little plant babies need somewhere to live and there are only so many flat surfaces with the right lighting in your house!
I always thought I had a black thumb, but it turns out, taking care of plants is a little easier than I had imagined. Watching videos on TikTok and YouTube definitely helps. You can get specific information about a specific plant, and someone will show you exactly what you need to do. And once you keep one plant alive for an extended period of time your confidence grows, and the next thing you know, you live in FernGully.
My house was lacking in spots for plants with good lighting, so I decided to make a DIY wooden plant hanger. We have a good amount of scrap wood from other projects laying around, and a plant hanger seemed like a good way to put it to use.
My DIY plant hanger is simple and not overly ornate. I didn’t spend a ton of time sanding and perfecting the wood. As time goes on, the plant will grow and cover most of it. I also liked the semi-unfinished, worn look it took on too. If you like a more finished look, you could use a nicer piece of wood, and spend more time sanding and painting.

To Make a DIY Plant Hanger You Will Need
- Plywood
- Macrame Rope
- Tape Measure
- Wood Stain (I used Varathane Weathered Gray)
- Hook

DIY Plant Hanger
Create the perfect home for a hanging plant with a simple DIY plant hanger.
Materials
- Plywood, cut to the desired size
- Rope
- Wood Stain
- Tape Measure
- Pencil
- Sandpaper
Tools
- Jigsaw
Instructions
1. Measure the diameter of the pot you wish to hang. Subtract about 1/8" and outline the circle on the piece of wood. You want the hole you cut to be slightly smaller than the pot so the pot sits on top of the wood.
2. Determine how big you want the hanger to be. I made mine with about 2.5" around the circle. You want to make sure there is enough space to drill holes for the rope.
3. Cut out the square and circle with a jigsaw. Drill holes for the rope.
4. Sand the wood. Once it is sanded and the sawdust is cleaned off, stain the wood. Let dry.
5. Measure the rope to the desired length. I made mine about 30". Remember that the rope will shorten when it is knotted. Cut four lengths of rope to the length needed.
6. Once the wood is dry, feed the rope through. You may need to drill bigger holes depending on the size of the rope. Wrapping tape around the ends of the rope may make it easier to feed it through. Knot the rope about an inch from the bottom, with the wood sitting right on top of the knot.
7. Repeat step 7 for all pieces of rope. Tie all four pieces together at the top, making sure to keep the wood as even as you can.
8. Hang your plant hanger from a ceiling hook and place your plant inside.
I recently redecorated my living room, and I love that these plant hangers add some greenery to the space, and match the aesthetic of the room. It also keeps some of my plants out of reach of our new kitten. The space isn’t totally finished. I want to update the wall art, and the rug needs to be moved over. I was just so excited to get it, I couldn’t wait!

Curtains || Curtain Rods || Curtain Rings || Lamp || End Tables ||
Coffee Table || Sectional || Rug


[…] the heat dries out the soil more quickly. And, if you’re looking for a way to hang your pothos, this DIY plant hanger works […]